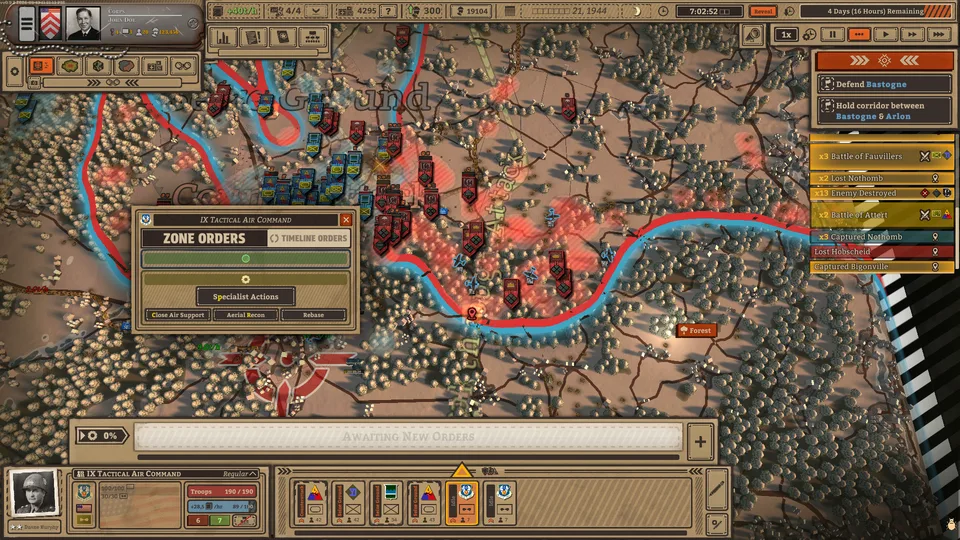
Mastering the Battleplan Campaign: Essential Strategy and Logistics Guide
Learn how to conquer the Battleplan campaign. Master supply lines, readiness modes, and tactical map drawing to lead your WWII divisions to victory.
Published: Battleplan Wiki Editorial Team
Table of Contents
Understanding the Campaign Loop in Battleplan
The campaign in Battleplan, developed by Foolish Mortals Games Inc., is not a standard "click-and-move" RTS. It is a simulation-heavy experience where you function as a high-level commander. Success in the campaign depends less on micro-managing individual infantrymen and more on your ability to visualize the battlefield, manage logistics, and execute multi-stage orders across vast maps.
When you start a campaign, the game offers different planning modes that fundamentally change how you interact with your units. Understanding these modes and the core "draw-on-map" mechanic is the first step toward mastering the missions.
Choosing Your Planning Mode
Before you issue your first order, you must understand the two primary ways to approach the game's planning system. As noted in community gameplay guides, the choice of mode significantly impacts the difficulty of your missions.
Readiness Mode
This mode is generally considered more forgiving. You can create new plans at any time during the day. However, execute orders before they reach 100% readiness, and you will face combat penalties. It is highly recommended for newer players learning the game's flow.
Planning Phase Mode
This is the harder, more restrictive option. You are limited to only one planning phase per day. Every decision must be deliberate, as you cannot simply pivot your strategy on the fly if the situation changes mid-day.
The Art of Logistics: Managing Supply Lines
If there is one aspect of Battleplan that separates experienced commanders from those who struggle, it is supply management. Your units—tanks, artillery, and infantry—are entirely dependent on your supply points. If your supply lines are cut or if you outpace your depots, your units will lose morale and combat effectiveness rapidly.
How Supply Points Work
You are limited to a specific number of supply points (typically four) on the map at any given time. These are not static; you must frequently deconstruct and relocate them as your front line advances.
Warning
The Logistics Trap: Deconstructing and reconstructing a supply point is not instantaneous. During gameplay, it takes several minutes of real-time for a depot to be dismantled and set up again. If you move your army too fast without pre-positioning your supply network, your units will run out of fuel and ammo, leaving them vulnerable to counterattacks.
Tips for Supply Efficiency
Monitor the Supply Overview: Always keep the Supply Overview tab open (accessible at the top of your UI). It shows exactly where your depots are and which units are drawing from them.
Plan Ahead: As your armored spearhead punches through enemy lines, do not wait for them to reach their objective to move your supply point. Start the deconstruction of a rear-based supply point early so it is ready to be placed near the new front line.
Capture Enemy Depots: When you capture territory, look for enemy supply points. Capturing and repurposing these can be a vital way to fuel your offensive without needing to rely solely on your mobile depots.
Tactical Combat Operations
Once your logistics are stable, you must turn your attention to the battlefield. The game emphasizes a "draw-your-orders" system, where you physically sketch movement paths and attack zones on the map.
Scouting: The First Step of Every Attack
Never launch an offensive blindly. Scouting is not just about gathering intelligence; it is a mechanical requirement for efficiency.
Mark Enemies: Scouting reveals enemy units. Marked units receive a binoculars icon, which directly reduces their morale and defensive capabilities.
Improve Artillery: Artillery barrages are significantly more accurate and damaging when the target area has been scouted.
Reveal Logistics: Scouting identifies enemy supply points, allowing you to target and cut them off, effectively starving the enemy out.
Executing Multi-Stage Offensives
When you are ready to attack, you should combine different orders to create a "hammer and anvil" effect.
Preparation (Artillery): Use artillery to soften up fortified positions. Look for the percentage box next to unit models; high fortification levels make units very difficult to dislodge.
Pinning (Counterattack/Seize Ground): Use infantry to pin the enemy in place. Even though "Counterattack" sounds offensive, it is a great way to keep the enemy engaged and prevent them from reinforcing the sector you are actually targeting for your breakthrough.
The Breakthrough: With the enemy pinned and softened by artillery, use your armored divisions to execute a "Breakthrough" order. This is your primary offensive move.
Follow-up (Mopping Up): Always have infantry following your tanks. Tanks are fast, but they leave pockets of resistance behind them. If you do not "mop up" these pockets with following infantry, your supply lines may be threatened, and your progress will slow down.
Understanding Unit Orders and UI
The UI in Battleplan can be dense, but it provides all the information you need if you know where to look.
Color-Coded Orders
The game uses a color-coding system to help you manage your battle plans:
Blue: Defensive orders.
Red: Offensive orders.
Gray: Specialist or support orders (like engineering or reconnaissance).
When you have multiple divisions moving across the map, it can get chaotic. Each army formation is assigned a specific color. Once you get used to this, it becomes much easier to identify which unit is performing which action, even when they are overlapping on the map.
Managing Officers and Veterancy
Beyond the map, you have the "Army Builder." This is where you customize your formations. You can hire officers, level them up, and assign them to specific divisions.
Veterancy: Keep your officers alive. As they survive battles, they gain veterancy and unique quirks that can make your divisions significantly more effective.
Historical Units: If you find the customization overwhelming, the game offers a "Use Historical Units" option. This allows you to skip the heavy management phase and jump straight into the action, which is a great way to learn the game's mechanics before diving into deep unit customization.
FAQ: Common Questions
Why are my units not moving even though I gave them orders?
Check your "Readiness" levels. If you are playing in a mode where you must wait for orders to reach 100% readiness, your units will remain idle until that threshold is met. Additionally, ensure your units are not out of supply, as low-supply units suffer severe effectiveness penalties.
How do I effectively deal with enemy fortifications?
You cannot brute-force a highly fortified position with infantry alone. You must use artillery barrages to degrade their fortification level (the percentage shown in the status box) before launching an infantry or armored assault.
Can I speed up the game?
Yes, time controls are located at the top right of the screen. You can fast-forward to get through quiet periods or slow it down to pause and adjust your plans when the battle heats up. However, always pause before drawing new complex orders.